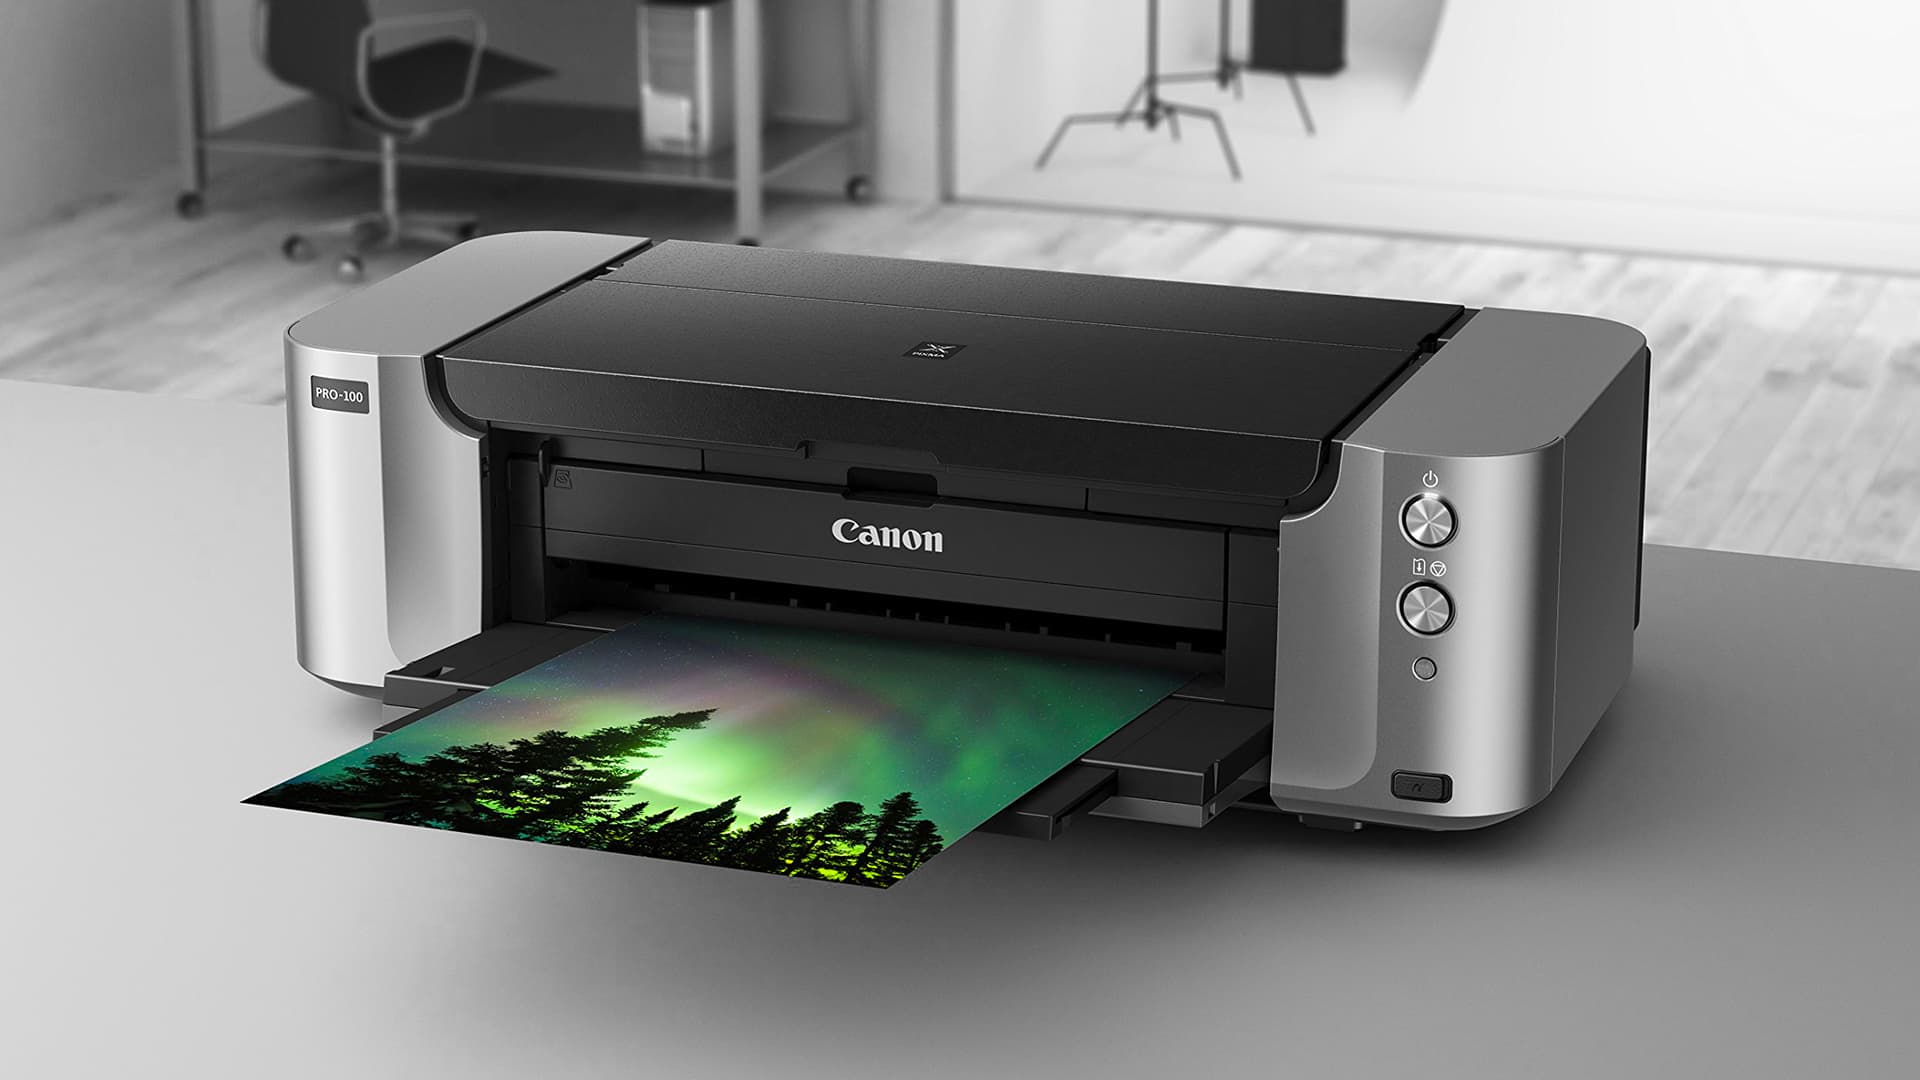
How to Scan on a Canon Printer for Windows and Mac OS
Canon printers are highly versatile devices that are widely used not only for printing but also for scanning, copying, and sometimes faxing. With the ability to scan directly to Windows or Mac computers, Canon printers provide users with an easy way to digitize documents, images, and other physical media. Whether you’re scanning for personal archiving, sharing, or document management, this guide will walk you through the steps to how to scan on a canon printer on both Windows and Mac OS.
Understanding Canon Scanning Features
Canon printers support several scanning modes and offer various features, including:
- Document Scanning: Scans documents in PDF or JPEG formats.
- Photo Scanning: Provides higher-resolution scanning for photos.
- Automatic Document Feeder (ADF): Allows multiple pages to be scanned automatically.
- Cloud Scanning: Directly uploads scanned files to cloud storage (on supported models).
- Wireless Scanning: Scans can be done wirelessly if the printer and computer are connected to the same Wi-Fi network.
Read More: how to connect my canon pixma printer to wifi
Prerequisites for Scanning
Before getting started, make sure you have:
- A Canon multifunction printer with scanning capabilities.
- The Canon IJ Scan Utility or IJ Scan Utility Lite (specific to Mac).
- The printer and computer are connected to the same network (for wireless scanning).
- The Canon printer driver installed on your computer.
Method 1: Scanning on a Canon Printer Using Windows
For Windows users, Canon provides the IJ Scan Utility, a powerful tool that allows you to perform various scanning tasks with ease.
Step-by-Step Guide for Windows
- Install the Canon IJ Scan Utility:
- If the Canon IJ Scan Utility isn’t already installed, you can download it from the Canon website. The utility is usually part of the standard driver package.
- Open the IJ Scan Utility:
- Once installed, open the IJ Scan Utility by searching for it in the Windows Start menu or selecting it from the list of programs.
- Place the Document on the Scanner:
- Open the scanner lid, place your document face down on the scanner glass, and align it with the guides. If you have multiple pages, you can place them in the Automatic Document Feeder (ADF) if your model has one.
- Choose a Scan Mode:
- The IJ Scan Utility will present you with various options such as Document, Photo, Custom, and Auto.
- Select Document for regular text documents and Photo for images. Alternatively, you can select Auto to let the utility choose the best settings automatically.
- Adjust Settings if Necessary:
Tips for Windows Scanning
- Use PDF format for multi-page documents to combine all pages into a single file.
- Increase the DPI (dots per inch) if you need high-quality scans of images or detailed documents.
Method 2: Scanning on a Canon Printer Using Mac OS
For Mac users, Canon offers the IJ Scan Utility Lite, which functions similarly to the Windows version. macOS also has built-in support for scanning, allowing you to scan directly from the Preview app if needed.
Step-by-Step Guide for Mac OS
- Install the Canon IJ Scan Utility Lite:
- Visit Canon’s website to download the IJ Scan Utility Lite for Mac if it isn’t already installed on your computer.
- Launch the IJ Scan Utility Lite:
- Open the IJ Scan Utility Lite from the Applications folder.
- Place the Document on the Scanner:
- Place the document face down on the scanner glass, aligning it with the edges. Use the ADF if available for multiple-page documents.
- Select Your Scan Mode:
- In the IJ Scan Utility Lite, you’ll see several options, including Document, Photo, and Custom.
- Choose the mode that matches your scan type, such as Document for text or Photo for high-resolution images.
- Modify Scan Settings:
- Click on Settings to adjust color, resolution, and file format options. Select where you’d like the file to be saved on your Mac.
Troubleshooting Common Scanning Issues
1. Scanner Not Recognized by Computer
- Solution: Restart both the printer and computer. Ensure they are connected to the same network. Check for any driver updates for your Canon printer.
2. Scan Quality is Low
- Solution: Increase the DPI setting in scan options. Higher DPI values create clearer, higher-quality images but may increase file size.
3. Scan Button Not Working
- Solution: Check that the IJ Scan Utility or Utility Lite is correctly installed and that the device is connected. If you’re using wireless scanning, confirm Wi-Fi settings.
4. Scanned Document Does Not Appear in Designated Folder
- Solution: Double-check the save location in the scan utility settings. Change the save path if needed, and rescan.
Tips for Optimizing Scanning Results
- Choose the Right Resolution: For documents, 300 DPI is usually sufficient. For photos, 600 DPI or higher is better for capturing details.
- File Format: PDFs are best for documents, while JPEG or PNG is better for photos. Use multi-page PDF for documents with multiple pages.
- Document Orientation: Make sure the document is aligned correctly on the scanner bed to avoid tilted or skewed scans.
- Save Time with Presets: Many Canon utilities allow you to save scan presets, which can streamline repeated scanning tasks.
Conclusion
Scanning on a Canon printer is a straightforward process once you understand the tools and methods available on Windows and Mac OS. The Canon IJ Scan Utility for Windows and IJ Scan Utility Lite for Mac both offer efficient ways to scan directly to your computer. Mac users also benefit from built-in macOS scanning options through the Preview app. With easy-to-use software and versatile scanning features, Canon printers provide an ideal solution for anyone needing reliable scanning capabilities. By following this guide, you can quickly and effectively digitize documents, photos, and other items, ready for sharing, archiving, or editing.


